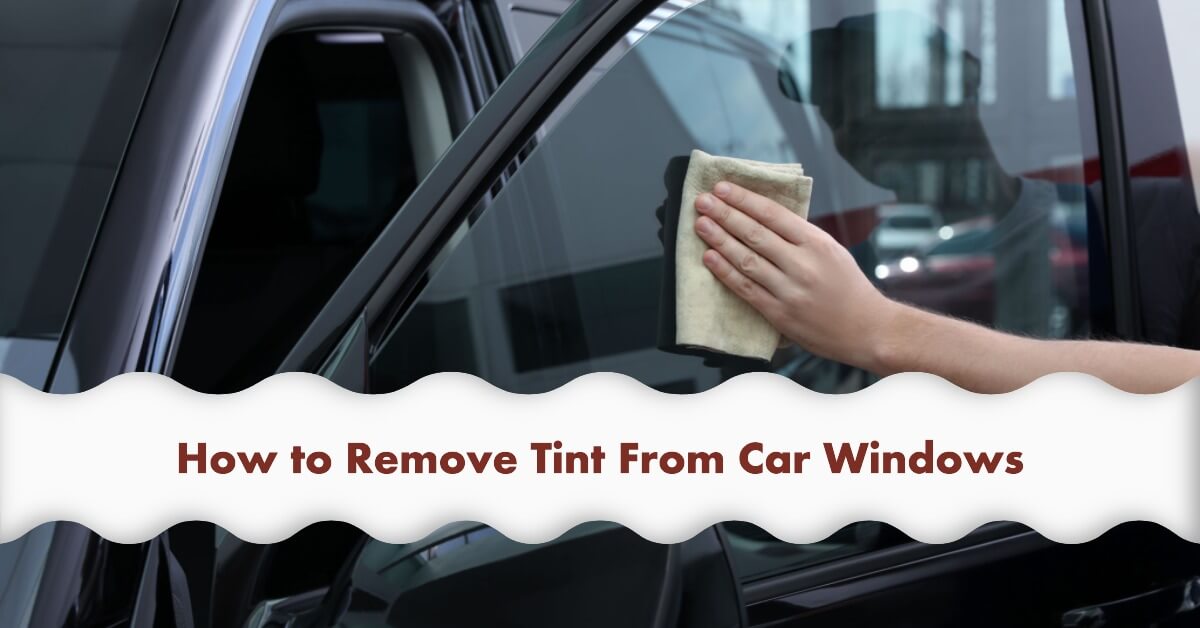
Are you tired of the tint on your car windows and want to remove tint from car windows? Whether it’s for legal compliance or personal preference, removing tint from car windows can be a straightforward process if you follow the right steps.
In this comprehensive guide, we will walk you through the step-by-step process of removing tint from car windows, ensuring that you can achieve the desired results.
Table of Contents
ToggleWhy Remove Tint from Car Windows?
Before we delve into the step-by-step process, let’s explore why you might want to remove tint from your car windows:
- Legal Compliance: There are specific regulations regarding window tint darkness in many jurisdictions. By removing tint from car windows, you can ensure that your vehicle complies with the law and avoid any potential fines or penalties.
- Visibility and Safety: Dark tinted windows can impede your visibility, particularly during nighttime or in low-light conditions. By removing tint from car windows, you can enhance your visibility and ensure safer driving experiences.
- Aesthetics and Personal Preference: Tinting trends and personal preferences change over time. If you feel that the current tint on your car windows no longer suits your style or preferences, removing tint from car windows allows you to achieve a fresh, updated look.
Now that you understand the reasons for removing tint from car windows, let’s proceed with the step-by-step guide.
What You’ll Need
To successfully remove tint from car windows, gather the following materials:
- Razor Blade or Scraper: A sharp razor blade or scraper will help you peel off the tint. Ensure that it is sharp to avoid damaging the window surface.
- Spray Bottle with Soapy Water: Create a solution of soapy water by mixing a few drops of dish soap with water in a spray bottle. This solution will help loosen the adhesive underneath the tint.
- Plastic Garbage Bag or Black Trash Bag: You will use this to cover the windows after spraying the soapy water, allowing it to penetrate and soften the adhesive effectively.
- Hair Dryer or Heat Gun: Applying heat is crucial in softening the adhesive, making the tint removal process easier. Use a hair dryer or heat gun to provide heat to the tinted area.
- Clean Cloth or Paper Towels: These will come in handy for wiping off any residue or adhesive left behind after removing tint from car windows.
- Glass Cleaner: Once the tint is removed, use a high-quality glass cleaner to thoroughly clean the windows and ensure a clear, pristine finish.
Now that you have the necessary materials ready, let’s proceed with the step-by-step process to remove tint from car windows effectively.
The Step-by-Step Process to Remove Tint from Car Windows
- Preparation: Park your car in a well-ventilated area away from direct sunlight. This will make the tint removal process more manageable by preventing the soapy water from drying too quickly.
- Start Peeling: Use the razor blade or scraper to lift a corner of the tint film. Be cautious not to scratch the glass. Once you have a small section lifted, use your fingers to grip the film and begin peeling it off. If the tint is stubborn, use a hair dryer or heat gun to apply heat and soften the adhesive, making it easier to peel off.
- Soak and Cover: Spray the soapy water onto the window, ensuring that both the tint and the adhesive are thoroughly wet. Next, cover the wet tint with the plastic garbage bag, ensuring it adheres to the surface. This step is crucial as it allows the soapy water to penetrate and loosen the adhesive.
- Wait it Out: Let the soapy water and plastic bag sit for approximately 30 minutes to an hour. During this time, the water will penetrate the adhesive, making it easier to remove tint from car windows.
- Remove the Tint: After the waiting period, remove the plastic bag and slowly peel off the tint. If you encounter any stubborn spots, reapply soapy water and let it sit for a few more minutes before attempting to remove the tint.
- Clean Off Residue: Once the tint is completely removed, use the razor blade or scraper to scrape off any adhesive residue from the window. Take care to avoid scratching the glass. Afterward, wipe the window clean with a cloth or paper towel.
- Final Touch: To achieve a spotless finish, use a high-quality glass cleaner to clean the windows thoroughly. This will remove any remaining residue or adhesive, leaving your car windows clear and free from tint.
Safety Tips and Precautions
When removing tint from car windows, it’s essential to prioritize safety. Keep the following tips in mind:
- Protective Gear: Wear gloves to protect your hands from adhesive and potential cuts from the razor blade or scraper.
- Ventilation: Work in a well-ventilated area to avoid inhaling any fumes or chemical odors during the tint removal process.
- Eye Protection: Consider wearing safety goggles to protect your eyes from any flying debris or particles.
- Patience: Take your time and be patient throughout the process, ensuring that you follow each step carefully to avoid any accidents or damages to the window.
Conclusion
By following this comprehensive step-by-step guide, you can confidently remove tint from car windows and achieve clear, pristine windows. Whether you’re aiming for legal compliance, improved visibility, or a new aesthetic, the process outlined above will help you achieve your desired results.
Remember to prioritize safety, use the recommended tools and materials, and take your time to ensure a successful tint removal process. Get ready to enjoy the unobstructed views and a refreshed look for your car windows!


